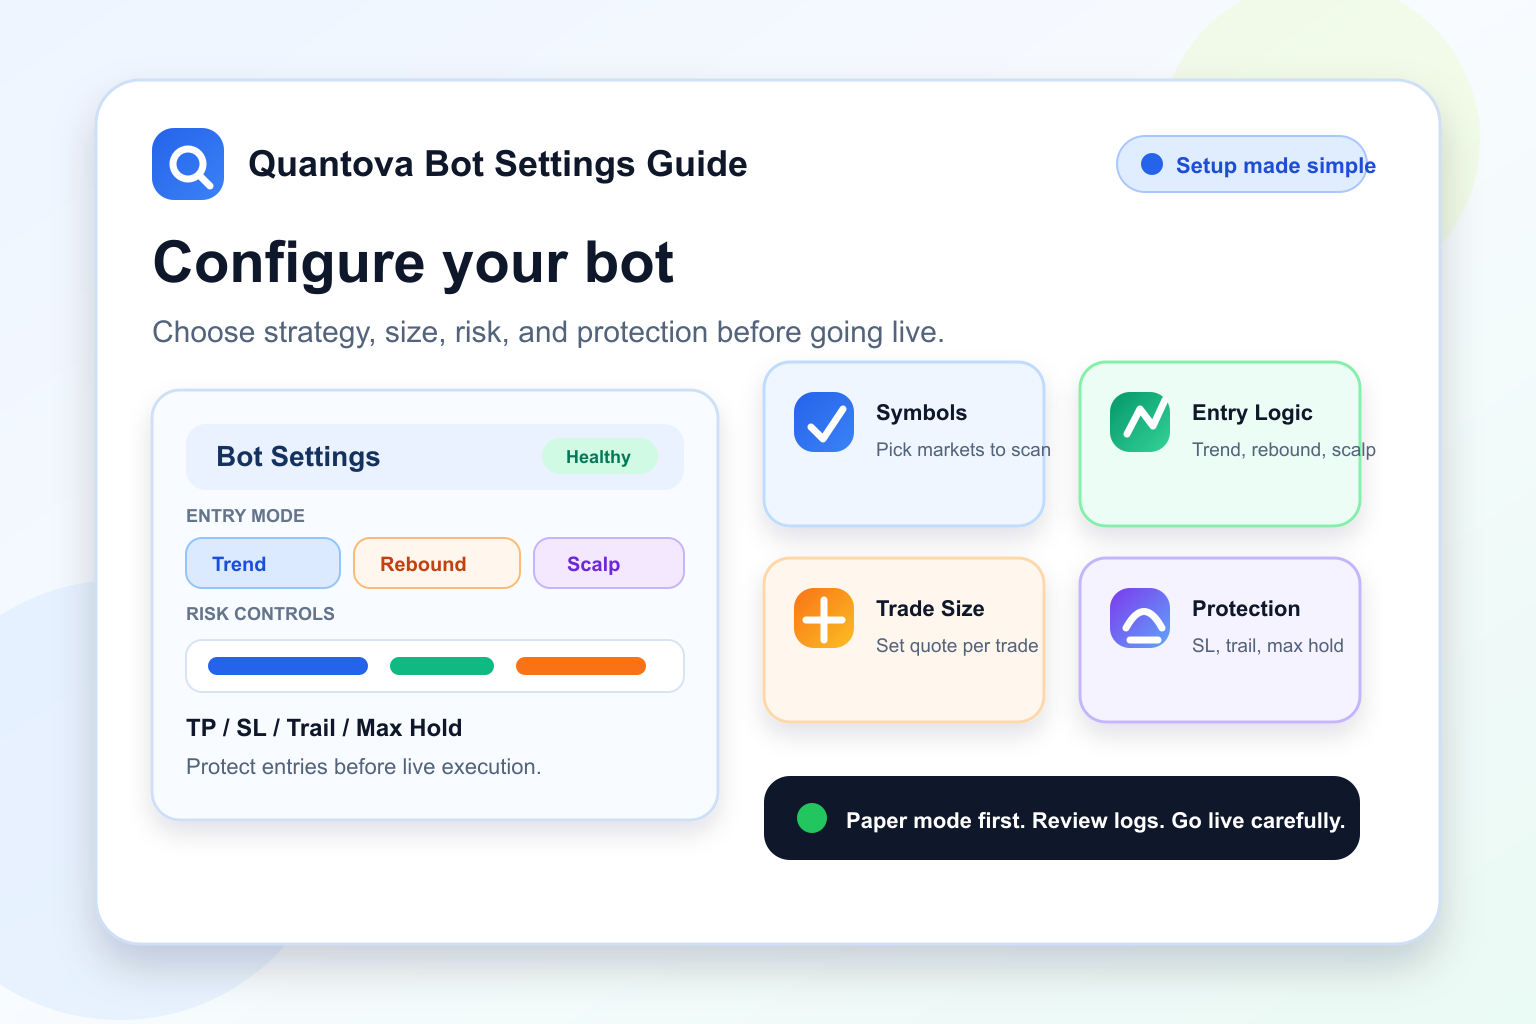
Setting up a trading bot should not feel complicated. Quantova is designed so users can connect an exchange, fund credits, choose practical risk settings, and start in paper mode before using live funds.
This guide explains the main bot settings in simple language. Use it as a checklist when you are preparing your first Quantova bot.
Before You Start
Before configuring the bot, make sure these basics are ready:
- Your Quantova account is active.
- You have enough QC credits for trade cycles.
- Your exchange account is connected if you want live trading.
- API permissions are limited to trading only, not withdrawals.
- You understand that crypto trading carries risk and profit is never guaranteed.
If you are new, start with paper trading. Paper mode lets you learn the workflow without risking live funds.
1. Choose Paper Mode or Live Mode
The first decision is whether the bot should simulate trades or place real orders.
Paper mode is best for:
- Learning how the platform works.
- Testing your settings.
- Checking how often the bot enters and exits.
- Reviewing logs before using live funds.
Live mode is for real exchange orders. Only use it after you understand the settings and have tested your setup.
A good rule is simple: configure, test, review, then go live carefully.
2. Select Your Exchange Account
If you want live trading, choose a connected and verified exchange account in the bot settings.
Quantova checks that the exchange account is active before the bot can trade live. This helps prevent failed orders from missing API keys, inactive accounts, or unverified exchange connections.
For safety, your exchange API key should not allow withdrawals. The bot only needs trading permissions.
3. Choose Spot or Futures
Spot mode is the safer default. In spot trading, the bot buys and sells the actual asset pair, such as BTC/USDT or SOL/USDT.
Futures mode adds leverage and margin controls. Leverage can increase both profits and losses, so beginners should avoid high leverage. If you use futures, keep leverage low and test in paper mode first.
For most new users, start with spot.
4. Pick the Symbols to Scan
Symbols tell the bot which markets it is allowed to scan. Common examples are:
- BTCUSDT
- ETHUSDT
- SOLUSDT
- XRPUSDT
- BNBUSDT
Do not add too many symbols at the beginning. A small, liquid list is easier to monitor and usually has better execution quality.
Good starter approach:
BTCUSDT, ETHUSDT, SOLUSDT, XRPUSDT, BNBUSDT
5. Set Your Quote Per Trade
Quote per trade is how much USDT value the bot can use for a normal trade.
For example, if quote per trade is 35, the bot will try to open a position around 35 USDT before exchange rounding and fill differences.
Start small. The goal of the first few days is not to trade big. The goal is to understand whether your settings are producing clean entries and exits.
6. Understand the Entry Modes
Quantova can use different entry paths depending on market conditions.
Trend Pullback
This is the normal entry mode. The bot looks for a market that still has trend support but has pulled back enough to avoid buying too late.
This mode is useful when the broader market is healthy.
Bearish Rebound
Bearish Rebound is used when the market is weak but a controlled bounce setup appears. It is stricter than normal entry because bearish markets can trap early buyers.
This mode helps the bot avoid a full stop during bearish markets while still requiring confirmation before entering.
Fast Scalp
Fast Scalp is designed for quicker rebound opportunities. It uses reduced sizing and tighter risk behavior so the bot can respond faster without exposing the same amount of capital as a normal trade.
Fast Scalp can create more activity, so review its results separately after fees.
7. Configure EMA Settings
EMA settings help the bot understand trend direction and pullback quality.
The fast EMA reacts more quickly to recent price changes. The slow EMA gives a broader trend view.
A common structure is:
Fast EMA: 12
Slow EMA: 55
Avoid changing EMA values too often. Let the bot collect enough trades before deciding whether a setting is useful.
8. Set Take-Profit and Stop-Loss
Take-profit defines where the bot aims to close a winning trade. Stop-loss defines where the bot exits when the trade moves against the position.
A simple beginner mindset:
- Take-profit should be realistic.
- Stop-loss should be strict enough to prevent large damage.
- Both should account for fees and market noise.
Do not set take-profit too high just because you want bigger wins. If the target is unrealistic, the bot may hold too long and give back gains.
9. Enable Profit-Lock and Trailing Protection
Profit-lock and trailing stop are designed to protect favorable moves.
Profit-lock can move protection above entry after price has moved enough in your favor. Trailing stop can follow the high-water price and close if the market pulls back while profit is still protectable.
In Quantova, trailing should only be treated as a successful trailing-profit exit when the current sellable price is still above the protected profit floor. If the move has already fallen into loss, the bot should not label that as a successful trailing close.
This keeps reporting honest and helps you understand whether profit protection is actually working.
10. Set Max Hold Time
Max hold time closes stale trades that stay open too long.
This is useful because some trades do not hit take-profit or stop-loss quickly. They can remain open while the market becomes less clear.
A practical starter value is:
Max Hold: 150 minutes
You can adjust later after reviewing trade duration and outcomes.
11. Set Open Position Limit
Max open positions controls how many trades the bot can hold at once.
For beginners, keep this low. One or two open positions are easier to review than many simultaneous trades.
Example:
Max Open Positions: 1 or 2
This helps prevent overexposure when the market suddenly moves against several coins at the same time.
12. Set Daily Trade Limit
The daily trade limit prevents overtrading. Even a good strategy can perform poorly if it trades too often in noisy conditions.
A current practical setting is:
Max Trades Per Day: 15
If the bot trades too much or results become noisy, reduce the limit. If the bot is too quiet and the results are good, you can review whether a higher limit makes sense later.
13. Use Cooldown
Cooldown tells the bot to wait after a trade before opening another one.
This is useful after losses and during choppy markets. It prevents the bot from immediately jumping back in after a bad close.
A cooldown of 10 to 20 minutes is a reasonable starting point for many users.
14. Check Runtime Summary and Logs
After saving settings, watch the runtime summary and logs.
Important things to check:
- Is the bot healthy?
- Are open slots available?
- Has the daily trade limit been reached?
- Is cooldown active?
- Are logs saying no entry because the market is weak?
- Are positions closing by take-profit, stop-loss, max-hold, or trailing protection?
Logs are not just error messages. They explain the bot's decision process.
15. Review Strategy Performance
After a few days, review results by entry mode:
TREND_PULLBACK
BEARISH_REBOUND
FAST_SCALP
This helps you see which mode is helping and which one may need adjustment.
Do not judge the bot only by whether it places orders quickly. The better question is whether each strategy is profitable after fees and real exchange fills.
Suggested Starter Setup
A simple starter setup could look like this:
Mode: Paper first, then live carefully
Market Type: Spot
Symbols: BTCUSDT, ETHUSDT, SOLUSDT, XRPUSDT, BNBUSDT
Quote Per Trade: Small amount first
Fast EMA: 12
Slow EMA: 55
Max Open Positions: 1-2
Max Trades Per Day: 15
Cooldown: 10-20 minutes
Max Hold: 150 minutes
Trailing: Enabled
Profit-Lock: Enabled
This is not financial advice. It is a simple configuration structure for learning the platform safely.
Common Mistakes to Avoid
Avoid these beginner mistakes:
- Starting live before testing paper mode.
- Using too many symbols at once.
- Setting position size too high.
- Increasing trade limits just to see more activity.
- Using high leverage too early.
- Ignoring logs and only watching PnL.
- Changing settings every few hours without enough data.
- Treating trailing stop as magic protection from every loss.
Automation works best when settings are stable enough to evaluate.
Final Checklist
Before turning on live trading, confirm:
- Exchange account is connected and verified.
- API key has no withdrawal permission.
- QC credits are available.
- Position size is small enough.
- Stop-loss and max hold are configured.
- Profit-lock and trailing are enabled if you want gain protection.
- Daily trade limit and cooldown are realistic.
- You understand the logs you are seeing.
Quantova is designed to make bot configuration simple, but users should still treat every setting as part of a risk plan. Start small, review often, and improve settings based on evidence.